Friday, July 22, 2011

Sweet Success

So after the failure with the "simple" dress and way too many hours spent on this one "simple" skirt I finally ended up with something wearable!

Here is the dress that looks like, and seems like, it would be cute.  That is until you put it on, it was all wrong.  I hope to use the skirt fabric to make another more fitted skirt with a zipper but that won't be for a while.


For some reason I was feeling rather determined to make myself a piece of clothing.  An actual, real piece of adult clothing.  After the dress I set out to make a skirt.  I did what I saw mentioned in too many crafty blogs to count.  I found a skirt that I really liked and used that to make a pattern for another skirt.  I had bought this linen fabric for super cheap during one of those 50% off clearance prices sale and decided to use that since it wouldn't be much money lost if it didn't turn out. 

Well I diligently laid out my skirt all nice on top of the fabric and traced.  What I didn't realized was the fact that I used an A-line skirt therefore the sides of the skirt were about 5 inches shorter than the center!  I failed to realize this until I got it all sewed up and tried it on to see how it looked.  Boy was I surprised!  I put it away that night and thought about how I could salvage this.  I decided to cut straight across the entire skirt at the length of the edge.  I also decided to make a 6 inch wide ruffle to sew on the bottom to give it enough length to be wearable.  In the end my tricks worked and I ended up with a very cute skirt! 


 Since I finally figured out what to do to make a very simple skirt I decided to make another one with this fabric I fell in love with.  It's another linen fabric that I bought at the end of spring thinking it would make for a nice summery skirt.  It turns out that as long as you have a fabric that drapes nicely you simply need to cut out a rectangle, sew the sides, hem it and make a casing for your elastic.  Really it's that simple!  For the one below I decided to make it slightly A-line so I added 3 inches to each side of my waist measurement and drew a line connecting the two.  Worked like a charm.  I'm thinking of making an entire little wardrobe of these things.  They're simple, they're cute, they're comfy, they're easy and they're practical!  WIN, WIN, WIN!!


My next goal is to tackle fitted skirts with zippers once I get my sewing machine (and a house) again!

Tuesday, July 12, 2011

Beach Comber Bag Tutorial

As promised here is the tutorial for the quick and easy beach comber bags!!  Experienced sewers can probably whip one of these out in under 30 minutes.  Don't worry beginners, this is a perfect project for you too!  I would say an hour at most to make one.  Could also be a great stash busting project for those bigger pieces or a pieced one would be super cute as well, the possibilities really are endless!  Don't be intimidated by all the pictures, hopefully it will make it easier since some steps may sound complicated.


Materials:

1/3 yard of fabric
interfacing (heavy or craft weight) - only need a 4"x 20.5" piece
1/3 yard of mesh fabric (found in the utility fabric section)
thread
scissors

Instructions:

First you are going to cut out your fabric.  You will cut:
     Interfacing - 4" x 20.5"
     Band fabric - 6" x 21" and a 4" x 26" piece if using same fabric for a strap
     Mesh fabric - 12.5" x 20"


2)  Iron your interfacing onto the 6" x 21" piece of fabric.  Make the interfacing 1" from the top and bottom and 1/4" from each side (as shown in the photo above).  Now you will iron down the top inch and the bottom inch on this rectangle.


After ironing that then iron it in half, lining up both edges that you just ironed down.


Now if you are making your own strap then take the 4" x 26" piece of fabric and iron it in half.  Open it back up and then iron each edge up to the center crease you just made.


Once you have done that then fold the fabric back in half and press once more.  You've now created a strap.  For this you could also use cotton webbing to make an even easier strap!  That's what I used for the nautical one I made.


Now it's time to get sewing!  First top stitch down each side of your strap like so


Next you are going to open up your band piece and line up the edges, right sides together.  Sew down one side to make a tube.  After you've sewn down one side then fold up the bottom inch on either side like shown below.


 Take you mesh piece of fabric and fold in half so that the 12.5" sides make up the sides of your bag (lay it down lengthwise and fold in half that way), you will have a 12.5" tall by 10" wide rectangle.  Sew across one 10" side and up the 12.5" side.  Leave the 3rd side open, this will be the top of your bag.  The mesh is just slightly narrower than the band because it stretches easily.


 Now your ready to start piecing this together.  The first thing you want to do is fold your band tube in half with the seam being one half.  Mark the other side of this so you know where to put your strap.


 Take your strap, center it on the seam and the other mark you made and baste in place.  Position it so it makes a U hanging down from the band.  Line the end of the strap up with the top of the ironed inch.  There is a good picture of this below.  This is why I took so many pictures because this step sounds confusing but if you see how the strap is positioned it's a piece of cake!


This is how you want to line up your strap!


 After the strap is basted in place you are going to make a little sandwich with your band and mesh fabric.  Line up the side seams on both pieces and then pin your mesh fabric so it's just below the center crease on the band.  The strap should be INSIDE the mesh pouch.


 Once it's all pinned in place sew around the entire perimeter just below the center crease.  This just hold everything in place making it very easy to do the final seaming.  Once sewn you are going to flip the entire thing inside out so that the mesh is right side out and the handle is on the outside like shown below.


 Don't lose me now, we're almost done!  Fold the band piece back in half and match up the two edges.  Pin in place.  This time you are going to sew all the way around the BOTTOM.  This sews the band together with the mesh in between.  Also before you get to the handle pull the handle like it would be when holding the bag, sew it in place in an upward direction.


 To finish it up and make it look pretty I sewed around the perimeter of the top again, going right over my previous stitches.  Again when I got to the handle I held it in place upwards and sewed it.  There is a close up of the handle with the stitches below so take a peek if your confused.

Here is the finished bag!  So CUTE!!  Great for those beach babes or even summer birthdays.  I may even have to make one for myself since I love picking up shells just as much as the kids!  If you don't have a beach this would also make a great explorer bag for your little nature lover.  If you make one I'd LOVE to see it!!


Close up of the handle detail.

Wednesday, July 6, 2011

Presents, Presents and More Presents!

I have furiously been sewing these past 2 weeks since I have a huge cluster of birthdays around the same time!  It's actually been nice and I have been reminded just how much I enjoy sewing.  In true fashion I don't have pictures of everything.  I'm bad at remembering especially when working on a deadline :)  There is one yet to be received as well as a handful of other projects I hope to complete before our house (and sewing machine) get packed up for over a month!  Naturally I'd get the sewing bug 3 weeks beforehand.

Here is a round up of the gifts galore happening around here.

This first one is a repurposed dress made for my daughter.  This is actually my least favorite of the 3 that I have made, I like the top of the others better.  Thought I would try something different!  I'll get pictures of the others eventually.  I will just put out there that this was the EASIEST projects ever.  A little cutting with the scissors and 2 seams.  No measuring and no finishing!!  I discovered that you can use a girls shirt in a length that matches what you would want the dress to be (I used medium shirts).  Cut the top to look like a tank top then taper the sides down.  Easy peasy!!


 This next one is a "beach comber" bag that I came up with for my nephew (and also my kids as well).  I saw this idea in a One Step Ahead catalog but I think it retailed for something like $15!  No way was I paying that so I set out to design one.  It was fairly easy except that my thread kept breaking (you know I really HATE when that happens!).  I have changed some things about it that I didn't like and am currently putting together a tutorial on how to make one.  It you have beach babes in your house then this is a must!

 Here he was just being goofy because I asked him to be my model!

These turtles were something that I saw a tutorial for in my blog roll and instantly knew I had to make some!  They were just too darn cute not to.  I am not usually one who sets right out to make something, I'm a major procrastinator but right after I saw the blog post here, at Make It and Love It, on how to do it I went to my fabric stash and picked out the fabrics.  I made one for my nephew and my daughter for their respective birthdays and have an order from my son for one!  They really are too darn cute!!  Perhaps the best part is they are a great way to use up scraps.


 One other thing I learned from the turtle tutorial was a new stitch.  Honestly I have no idea how I have lived without it!  It's the ladder or a blind stitch and it is the best.  Now everything looks so professional!  That's what is used below to close the opening, you can't even tell.


 Finally, up last, is a purse I made for a friend of mine.  This is one of two I have made in the last month from 2 different patterns I have.  I forgot to take a picture of the other one and almost did with this one too!


That's all for now.  After the last gift has been received I'll post some pics.  It came out very well and is a very useful item.  I may be making myself one in the near future since pretty soon I'll have reasons to use it.  I have also been determined to make myself an article of clothing and have had 2 failures so far.  I'll fill you in on those real soon but first I want to have success!!

Saturday, April 2, 2011

Some (not so) Recent Projects

Here's a round up of some things I've made here and there for various occasions.  I'm going to really try to get better about posting here which also means that I need to improve my picture taking.  I have a long list of things I would really like to make so hopefully I'll be able to find some time to work on them.

These first 2 things are gifts I made for an expectant mother.  She has since had her baby and really enjoyed both gifts.  The first was a blanket and the second was a diaper pouch.  Though this is her second child she did not have a diaper pouch and was very excited about it.


These next couple are the Valentines I made for my sons school and the Valentine gift I made for the DH and my parents.  I know your probably wondering why I'm bothering to post these since it's quite late but the Valentine I made for his teachers could be used any time and what I made for the DH and my parents could easily be altered for an easy birthday gift, thank you, or just because!

The valentines for the kids.

 These are what I made for both of his teachers.  That's the lotion hand sanitizer in between and I will say they were very happy with this!  Would be a great little teacher appreciation gift, or beginning/end of school gift.


 And finally this is the cookie bouquet I made.  It seemed like it should be simple but turned into quite the project that almost didn't get finished in time!  I bought plain terra cotta pots and had my son paint them.  I filled them with floral foam (styrofoam, gravel, sand will work too) and tied a ribbon around it.  I made and decorated some cookies and rice crispy pops.  The rice crispy treats were very easy but one little tidbit I learned is that you should make them a day ahead so they have time to firm up.  The ones in the DH's bouquet fell off the stick but the one's on my parents were fine (they were delivered next day).  This was very easy minus the cooking faux pas we had and makes a great anytime gift!


I really am getting the sewing bug again, and hopefully some time to fulfill it, so more posts to come soon!

Monday, February 28, 2011

Nook Cover 3 Ways!

So this was the project that just kept going, and going, and going!  It should have been simple and quick but ended up being drawn out over almost a week.  Turned out the third time was the charm!  I learned many things through my trials and I'll share with you what I discovered so you don't make the same mistakes I did.

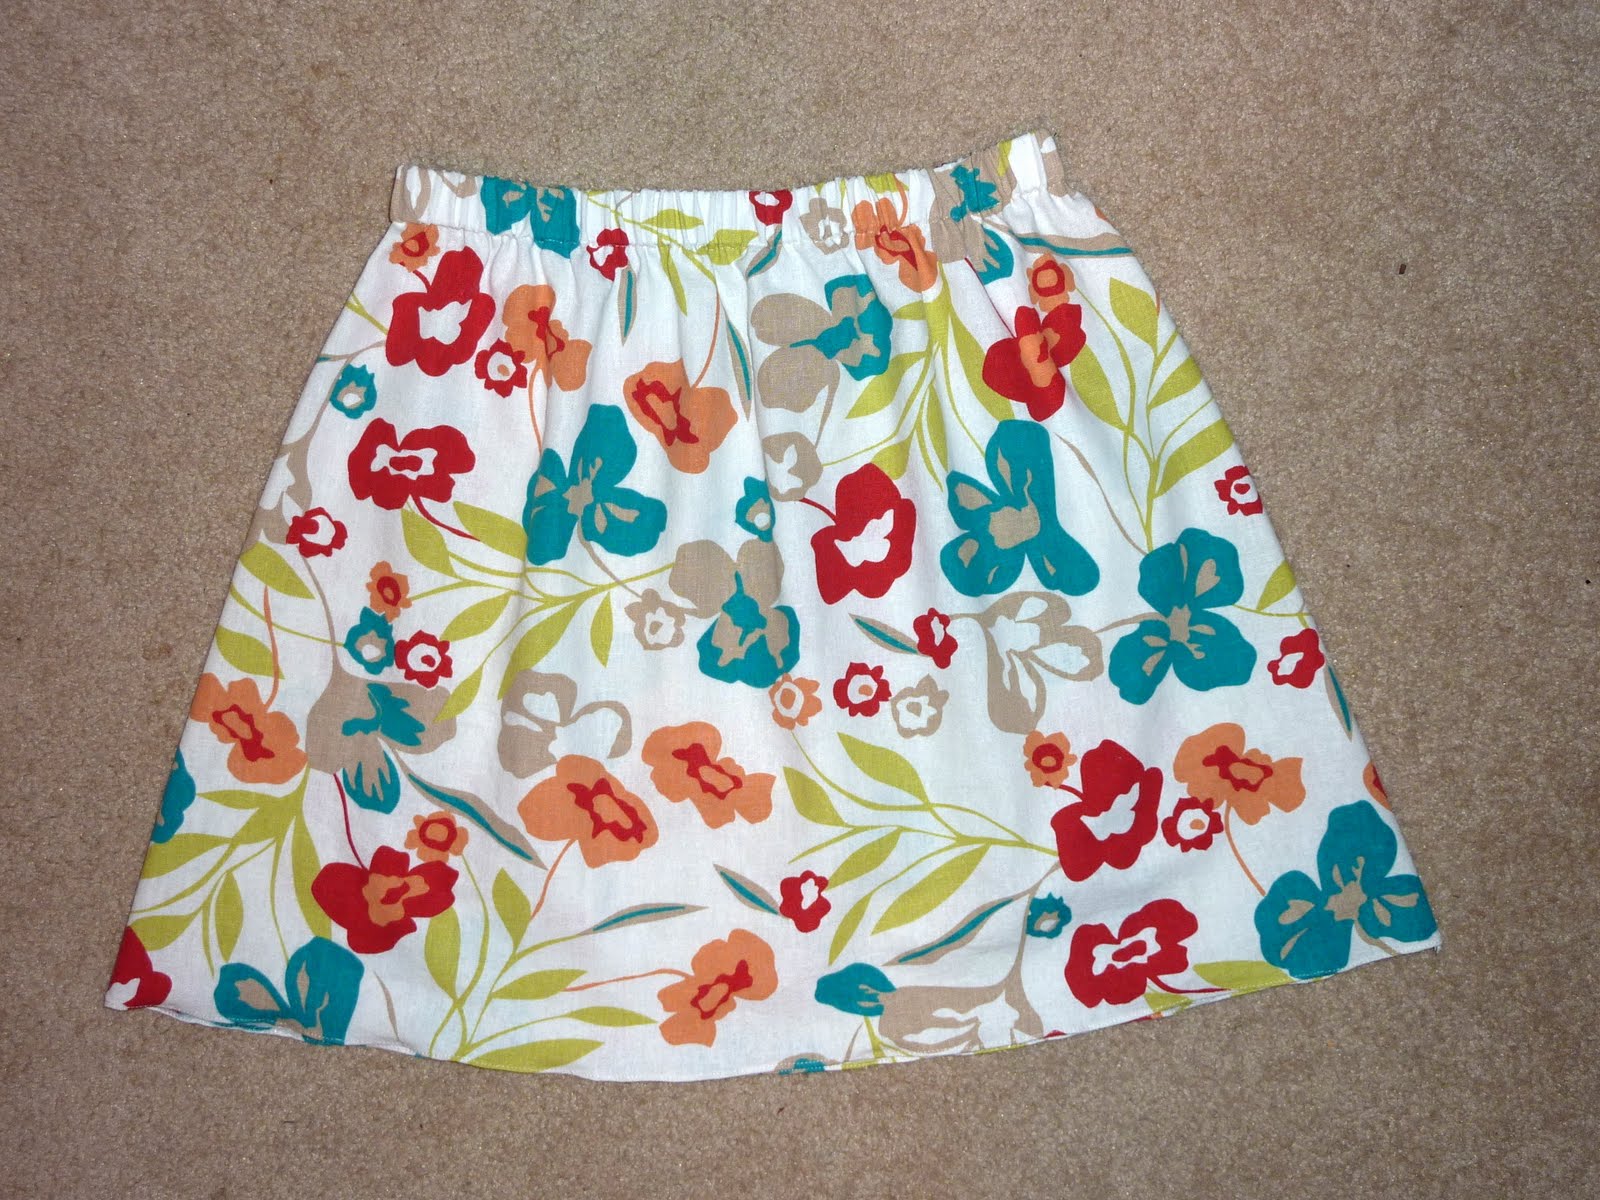
Here is a little tutorial for you on making a Nook cover.  You can really use these as a guide to make a cover for any eReader and, for that matter, any sort of case/cover/etc.  I will put out there that this is a very general guide, I'm guessing most people have some sewing experience, if you have any questions or need clarification please ask!  Also I just noticed I took no pictures of the steps (I really thought I did!) so I'm putting in some pictures from a diaper pouch I made to demonstrate since I used the same technique.  Sorry about the flip-flopping.


Here's what you'll need:

scraps of fabric for outer - rectangles will be 12.75" x 6.5" and 9.25" x 6.5" respectively (or 1/2 yard of fabric - if there's no direction to the pattern you can do it with 1/4 yard)
scraps of yard for inner (or you can use the same fabric, if you aren't using scraps you'll have plenty)
fusible fleece  **optional**
velcro - 2" long


Instructions:

1.)  Cut out your pieces.  
      Cut two 12 3/4" x 6 1/2" rectangles, one for the outer and one for the lining.  This is the back piece.
      Cut two 9 1/4" x 6 1/2" rectangles, again one for the outer and one for the lining.  This is the front piece.
      *If you are using a different lining fabric make sure to cut fabric accordingly.*
      Also if you are using fusible fleece cut one 12 1/4" x 6" and one 8 3/4" x 6" rectangle.

2.)  I wanted to use fusible fleece to give the cover an extra bit of protection and make it a bit sturdier.  You don't need this so it's more personal preference and what purpose you want the cover to have.  If you are using it now is the time to iron it on.  Center it in the fabric, it should be about 1/4" away from the edges.  I did this so there wouldn't be so much bulk in the seams once sewn.

3.)  To give the flap it's shape I marked down 2" from the top, on each side, of the longer piece (the back piece) and 1.5" over from each edge.  I then took a ruler and connected the dots and drew a line.  Cut on that line and you've created your flap.  You could also round the edges or scallop, really let those creative juices run wild!


4.) Now you are ready to start sewing!  Place your outer fabric and lining fabric right sides together and sew up one side, across the top, and down the other side.  You will not be sewing the bottom.  Do this for both the front and back.


5.)  Clip the top corners and flip right side out.  Press seams.  Now you will top stitch across the top edge of the front piece (the shorter piece) and also around the flap on the back piece (longer piece).

6.)  Time to sew your velcro.  Take the hook piece of the velcro and center it 1.5" down from the top on the RIGHT SIDE of you front piece (shorter piece).  Sew in place.


Next you'll sew the loop piece onto your flap.  Center it and sew it 1/2" down from the top on the WRONG side of your back piece (longer piece).

7.)  Take your two pieces right sides together and line up the bottoms.  Sew across the bottom opening then zig-zag or serge the edge.


8.)  Now you will open your pieces, iron your seam to one side and flip your pieces the other way so now the right sides are facing out.  Almost done...promise!


9.)  The only thing left to do is to sew up the 2 sides and enjoy your stylish new cover!  Now you could use plain fabric and embellish with ruffles, applique or whatever your heart desires.  The possibilities really are endless.  I will say though that I was originally going to use a button closure but I was scared that the button may get pushed against the eReader while in a bag and hurt the screen.  For that reason I chose to go button free, I really don't want to crack the screen!

Now here are the other 2 versions I made and I'll give you the little tidbits I learned below each one.  The one below is the first one I made.


I love the fabric with this one and don't mind it being horizontal either (turned out that way simply because of the dimension of the scraps I had).  What bothered me was the flap and how it didn't lay completely flat!  I should have beveled the edges or used 2 pieces of velcro instead of one.  Lesson learned!


This one here is the second one I made.  I had originally wanted a zipper one but didn't have any zippers so I make the zebra one instead.  I wanted it in time for a trip to Vegas and we were leaving in 4 days.  I made it to the store and picked up a zipper to try again since the flap bothered me.  I used the basic guide of this tutorial to figure out how to make the zippered version.  This is the one I really struggled with.  Here is what I learned.
  • I did not take the zipper into consideration when cutting out these fabrics.  You need to make your pieces 1/2" - 1" wider than if you weren't using a zipper.  I learned that one the hard way!
  • If your using interfacing or fusible fleece you need to iron it onto the OUTER fabric.  I ironed mine to the lining and then it wrinkled all funny when I flipped them.  It did not lay well at all.
  • The corners of your project where your zippers are will be a little weird, it's natural so just push them out as much as you can.
  • When you sew everything together make sure your zipper is completely folded in half and the teeth are facing your lining.  For this part I would recommend pinning just to make sure it stays in place, this coming from a girl who forfeits pinning every chance I get!
  • Also make sure you open your zipper halfway before you sew everything together!!  Very important and don't forget or you won't get it flipped right side out.
Like I said I learned a lot from making all these and especially when working with a zipper.  This was my first go at a zippered pouch (with lining) so hopefully with some more practice I'll perfect the skill!  I'm still thinking about making another zippered version, maybe in a plain or manlier fabric for when my husband has the Nook in his possession.  After all it is his!

Friday, January 7, 2011

Christmas Crafts

Here is the round-up of all the handmade presents.

First up are the very easy to make totes/reusable shopping bags.  I made it using this classic tote tutorial.  This was very easy, theres no lining or unfinished edges.  I ended up making 3 for the holidays and I bought a couple yards of fabric for me and can't wait to make mine!


 I know you've seen this picture before but this ended up being a placemat.  I made 8 of them and the main fabric is the blue flower fabric and I did 2 yellow accent stripes.


  A simple table runner I made for fellow quilter.  I used the zebra print fabric for the back as well and loved the way it came out.  It was a little hard to part with this!


 This is a lined bread bag that I made for Alexis (at Full of Knit).  She makes her own bread so I thought a pretty (and reusable) bread bag would be appreciated.  I plan to make a couple for myself but first I need to figure out an easier way because this turned out to be a major pain in the butt!  I think I may just make a basic drawstring bag instead, I just need to figure out how large to make the bag to fit the loaf.  When I figure out a better way I'll make a tutorial. 


 The last 2 are crowns I made Alexis' little girls.  I also sent tutus to go with them.  I made a matching purple one and then a blue one since I know that they already have an orange one to match the orange/red crown.


I also made a simple garter stitch scarf to match a hat I made a friend of mine a while ago.  I also was volunteered to make a memory quilt for my Mom's friends daughter.  I meant to take a picture of the finished quilt but I forgot.  It turned out very nice and they loved it!  That ended up taking up some of the time I was going to use to make some other projects but that's ok, there are always birthdays.

Currently in the works are a wet bag and a Nook cover.  Pictures to come as soon as they are finished!

LinkWithin

Related Posts with Thumbnails